Integrated System
APPLICATION PROCESS
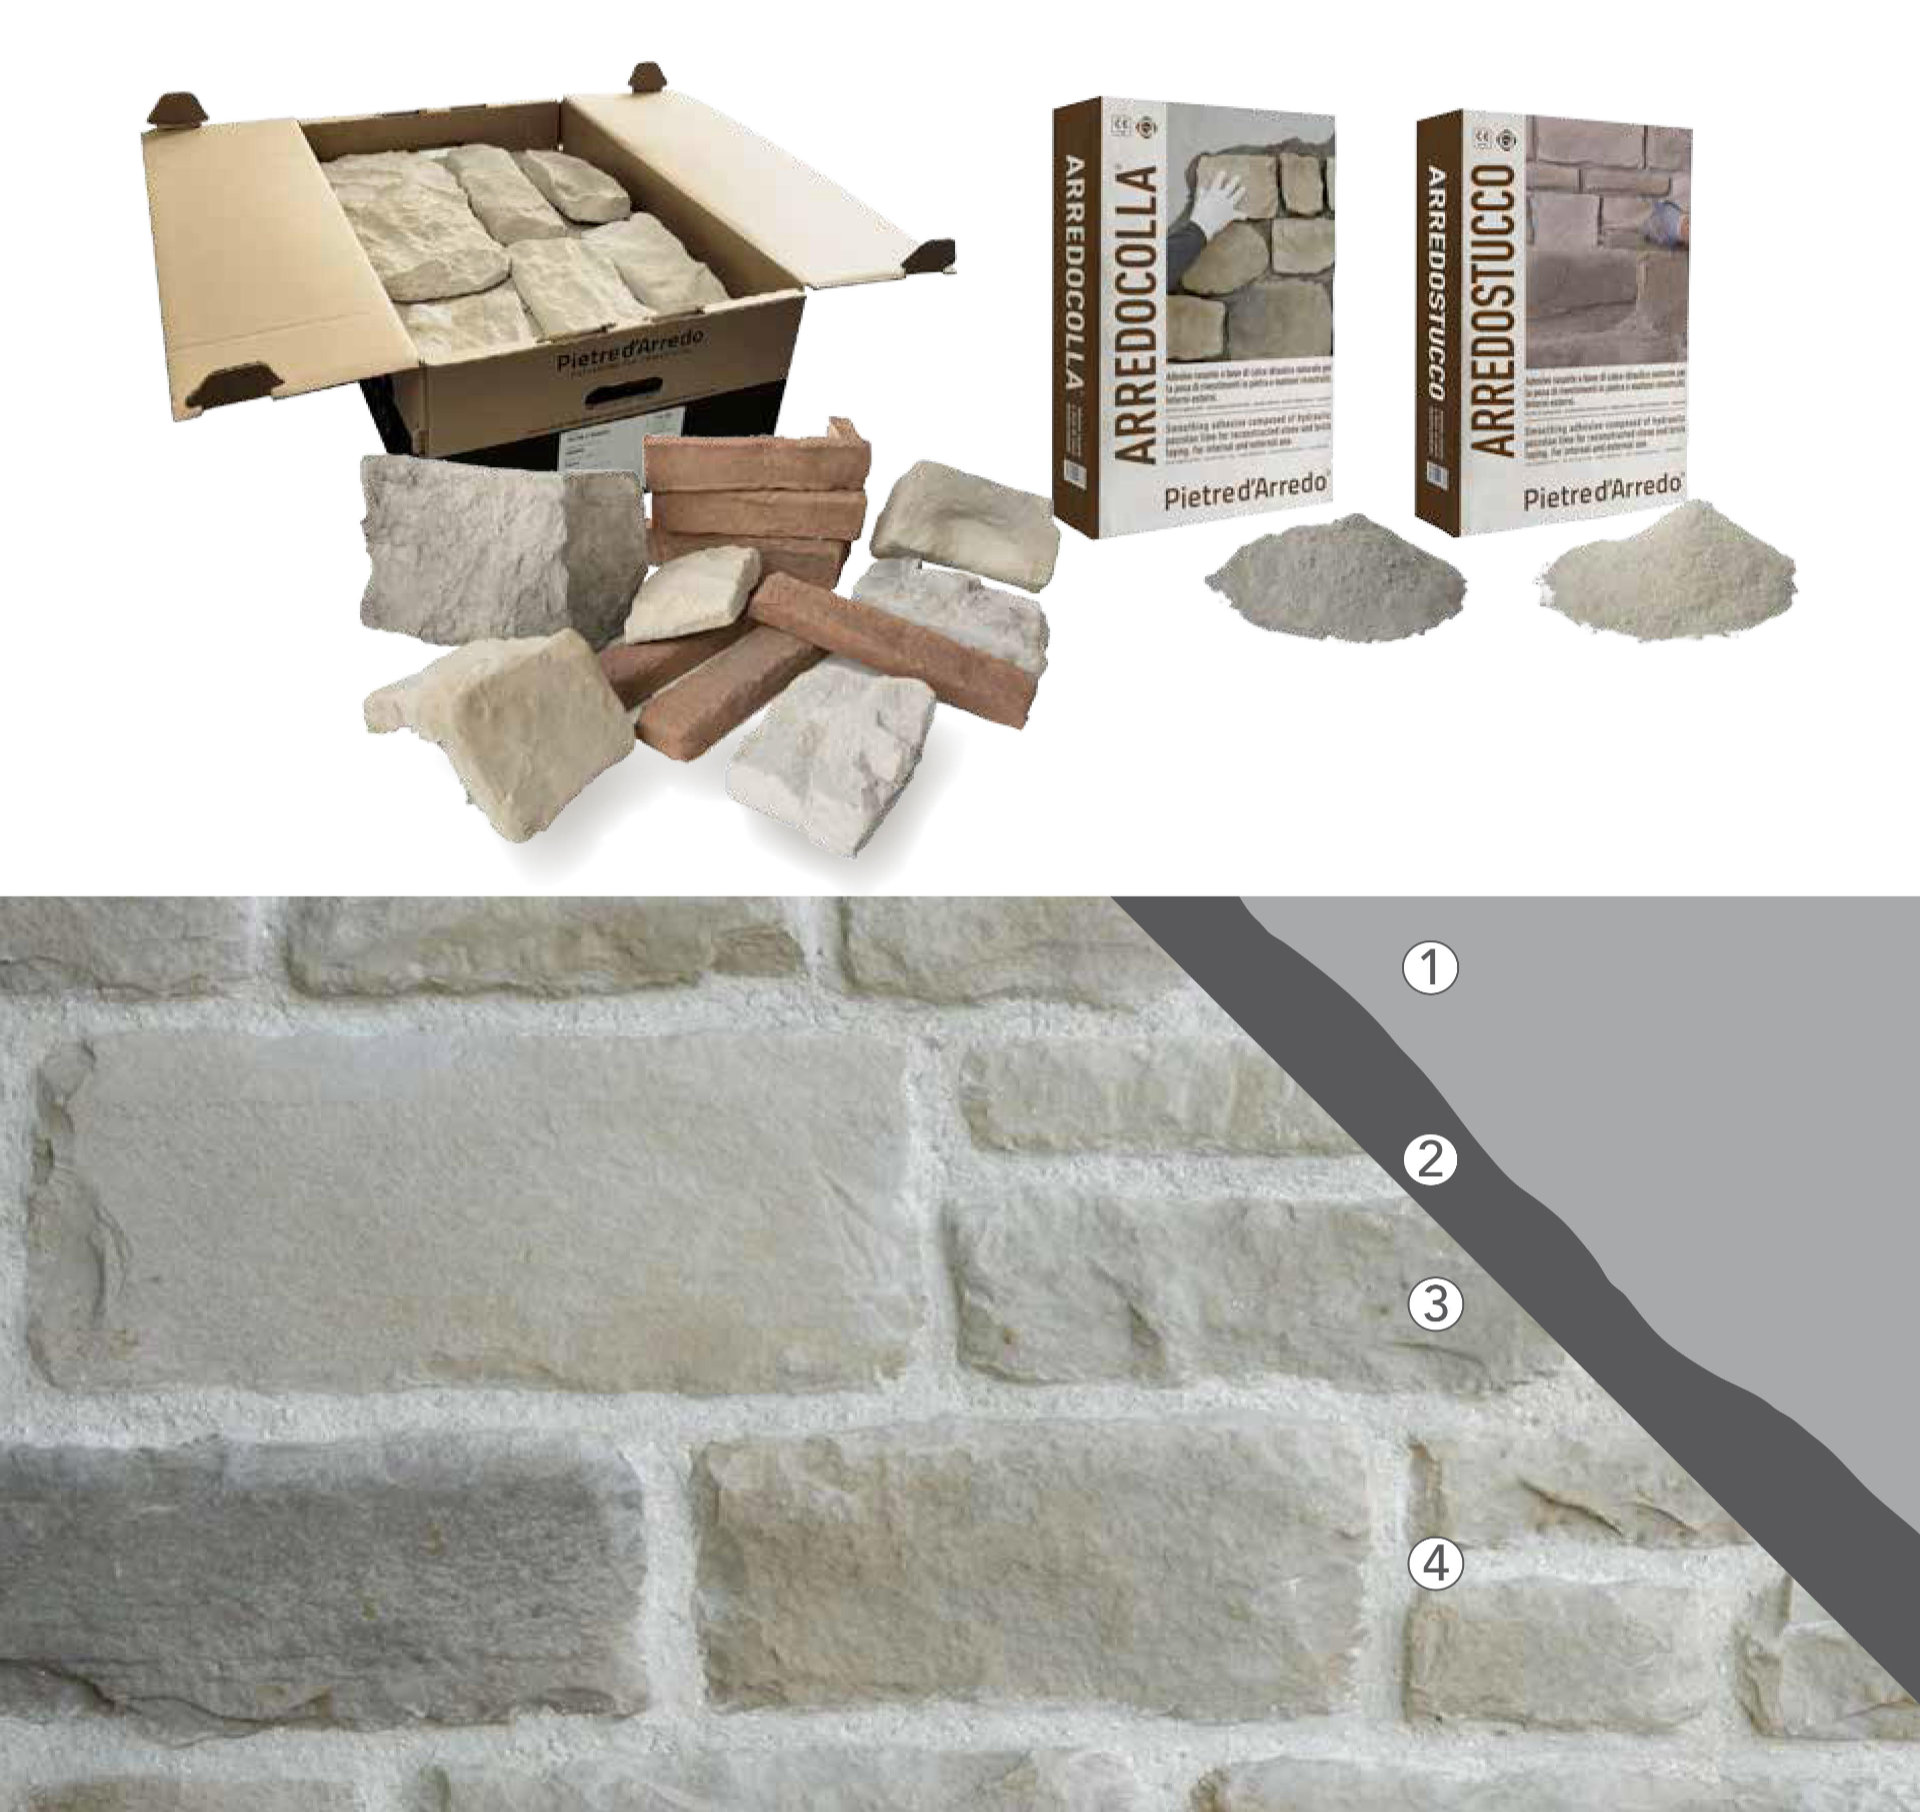
Pietre d’Arredo finishing elements are supplied in a single system integrated with products that are specifically designed
and manufactured to provide a realistic, technically valid and efficient piece of work.
1 SUBSTRATE suitably prepared substrate.
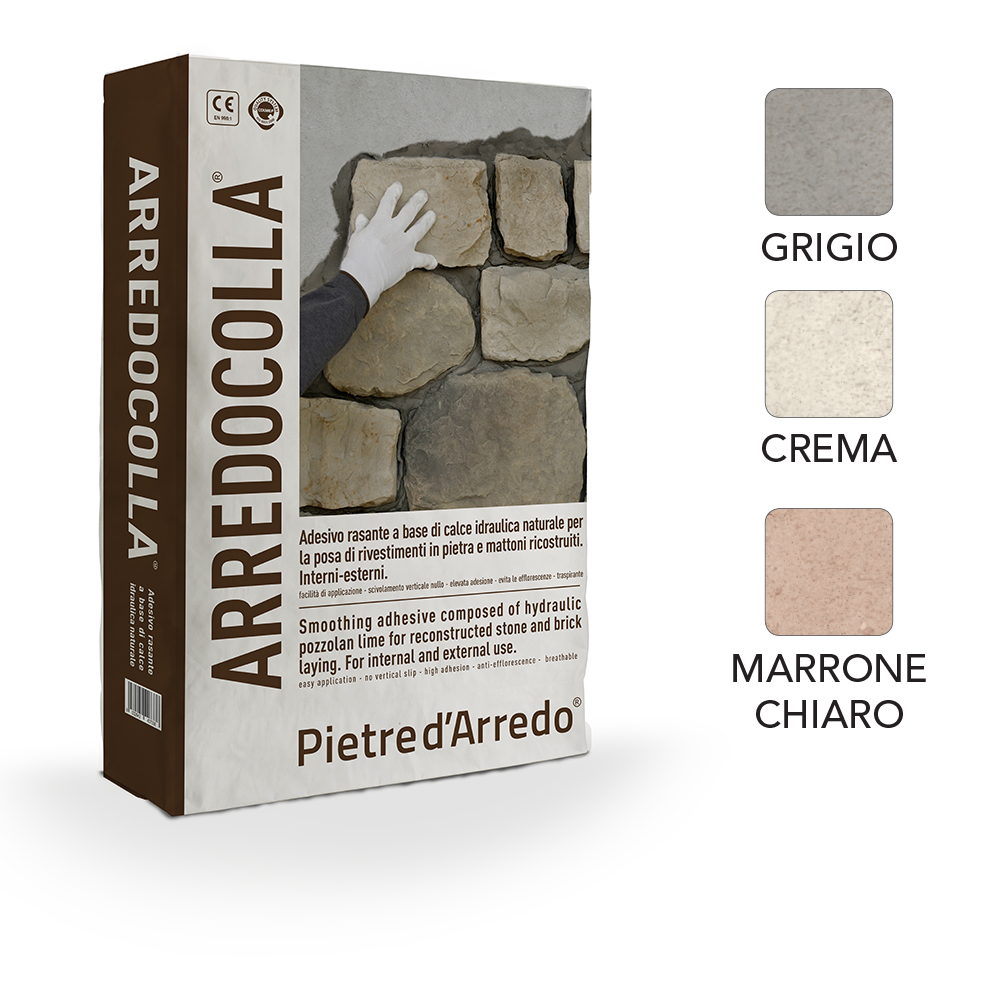
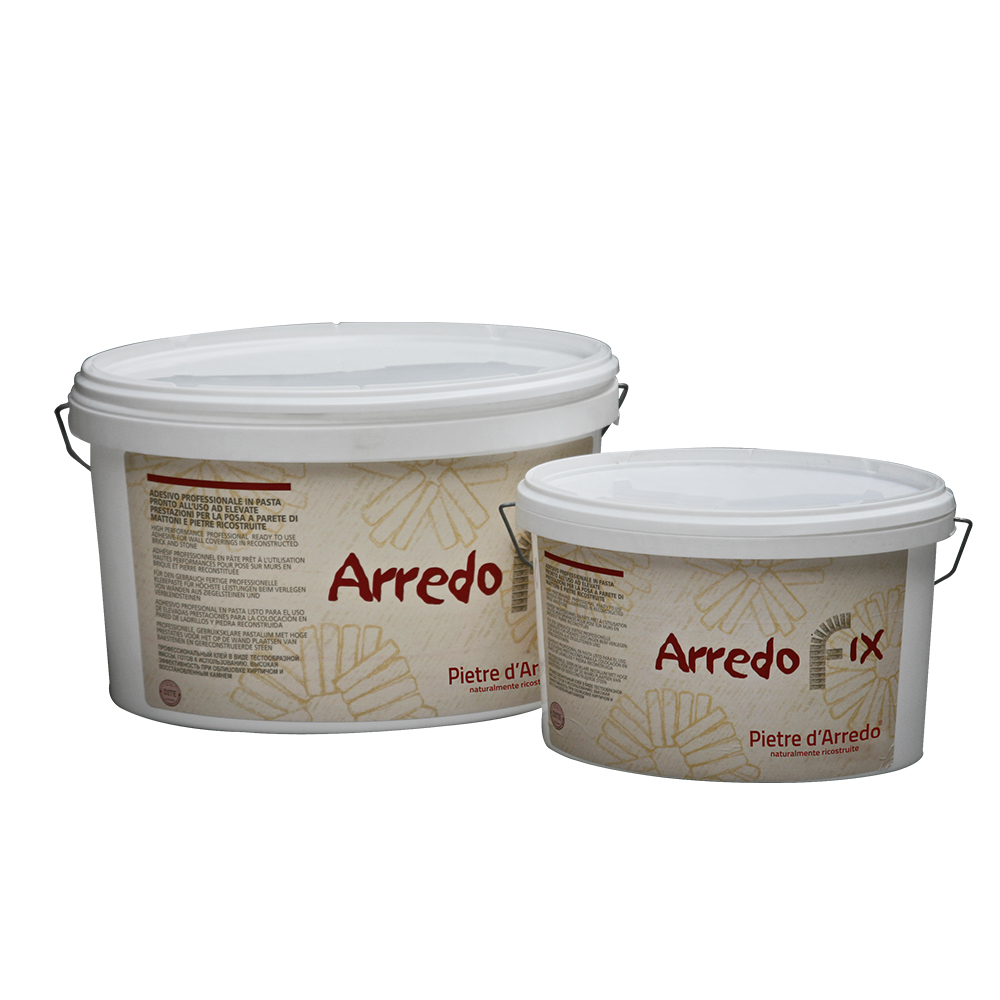
2 ARREDOCOLLA the only adhesive specifically designed for laying Pietre d’Arredo reconstructed stone tiles.
3 OUR STONE
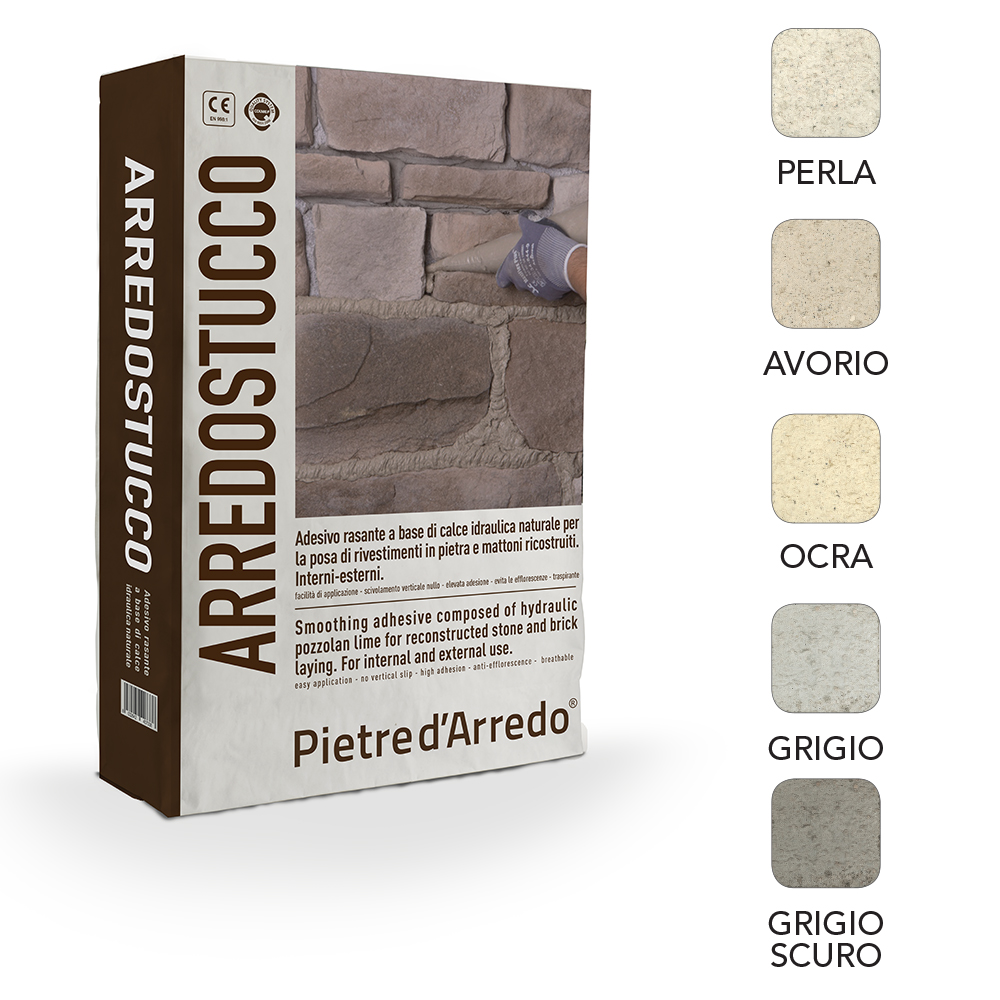
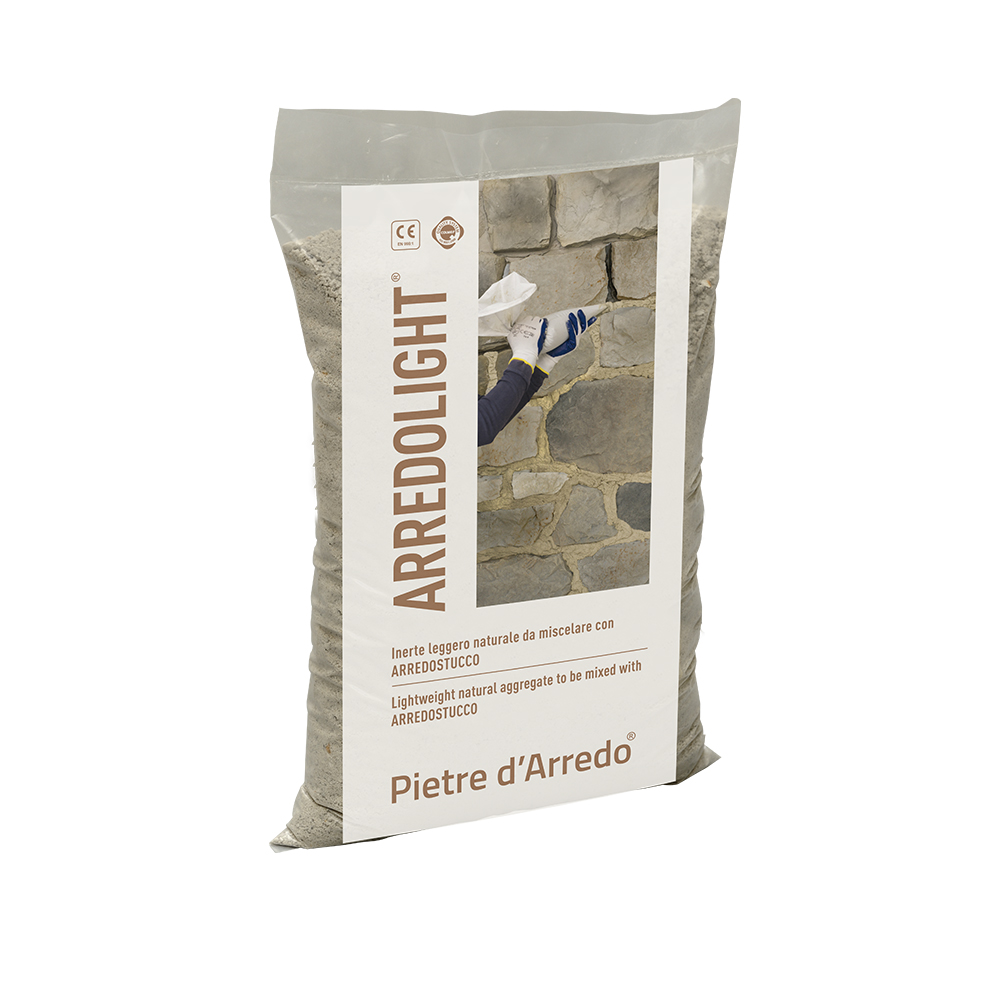
4 ARREDOSTUCCO to obtain smooth, even finishes or coarser finishes, typical of old natural mortars.
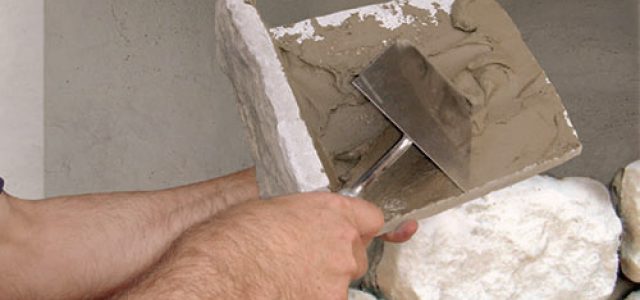
1. Apply ARREDOCOLLA using a spatula or trowel, spreading it onto the surface to be clad and onto the back of the elements to be laid, as to work “wet-on-wet” (double spreading technique) using a firm pressure, making translational movements in order to ensure full contact with the adhesive. Pay particular attention to avoid soiling the stones with the adhesive; should this occur, clean immediately with clear water or a damp sponge to avoid irreparable staining.
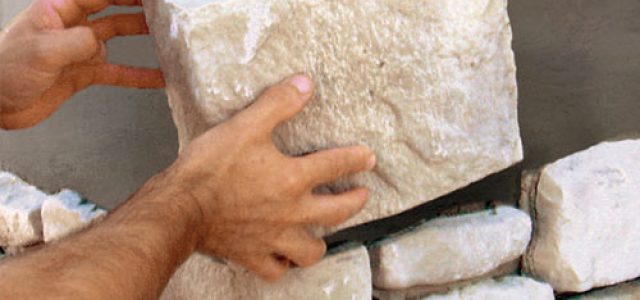
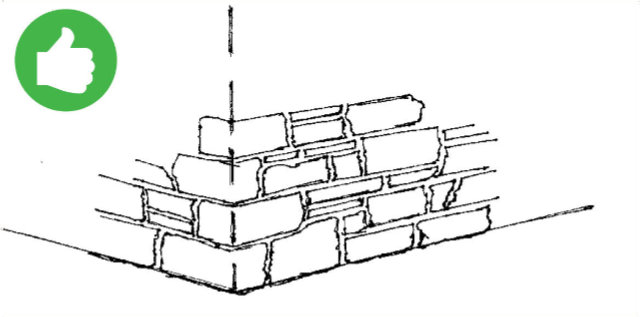
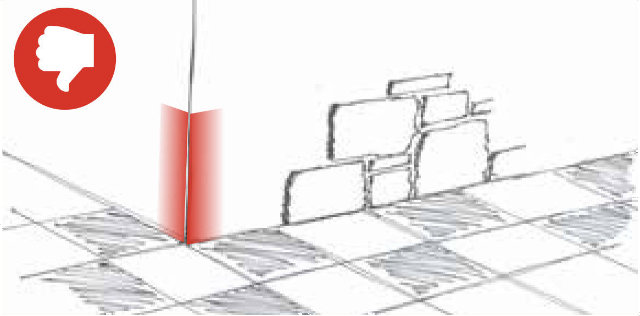
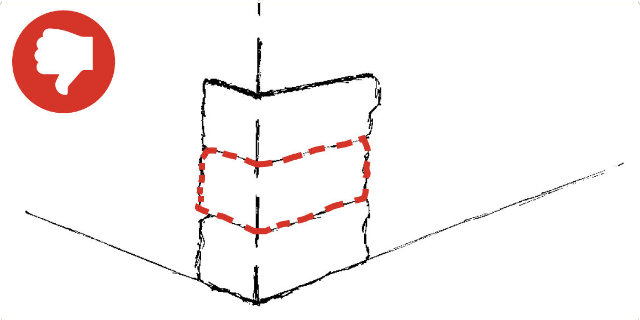
2. Start the laying from corner elements, alternating the long sides with short sides in order to create a shape very similar to traditional masonry.
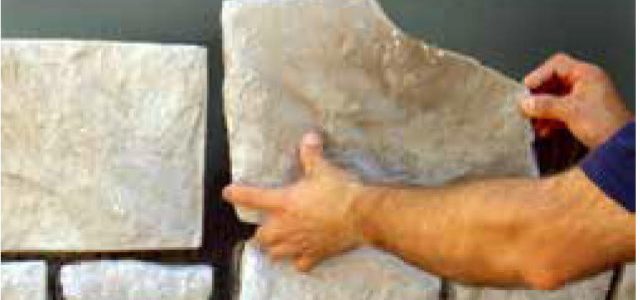
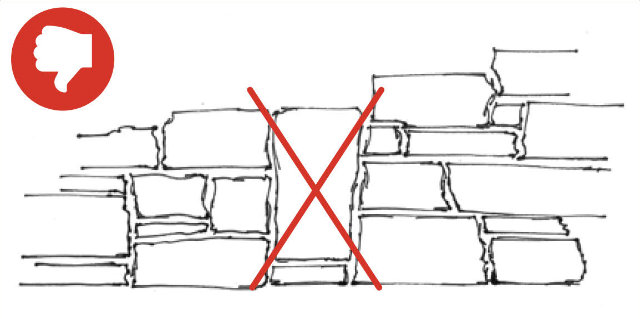
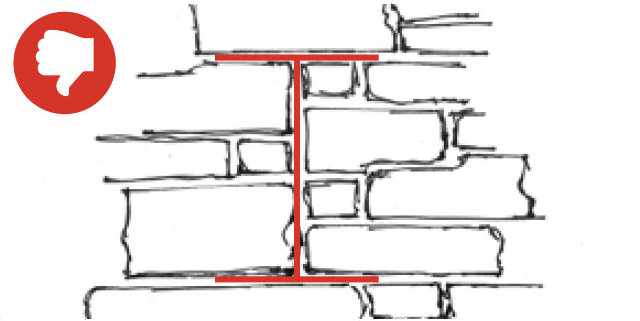
3. Proceed with the laying of flat elements until complete facing of the surface. Maintain the horizontality of the rows of stones, following flat horizontal lines, previously traced as a reference mark. Place the elements so that the upper stones lean onto those two below, avoiding that the vertical joints continue upwards or downwards more than two layers.
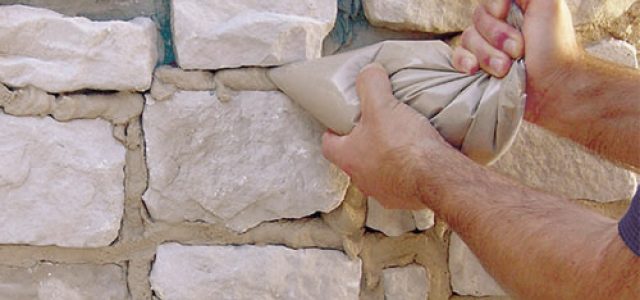
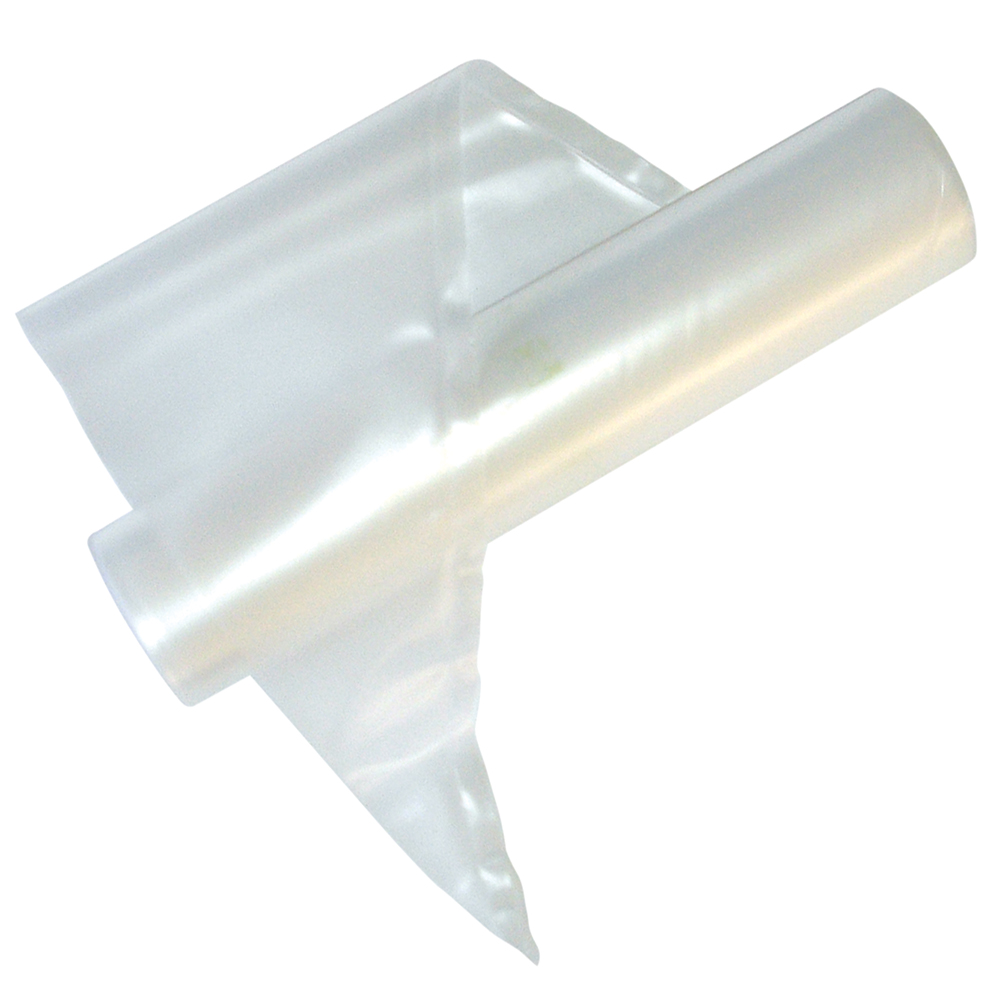
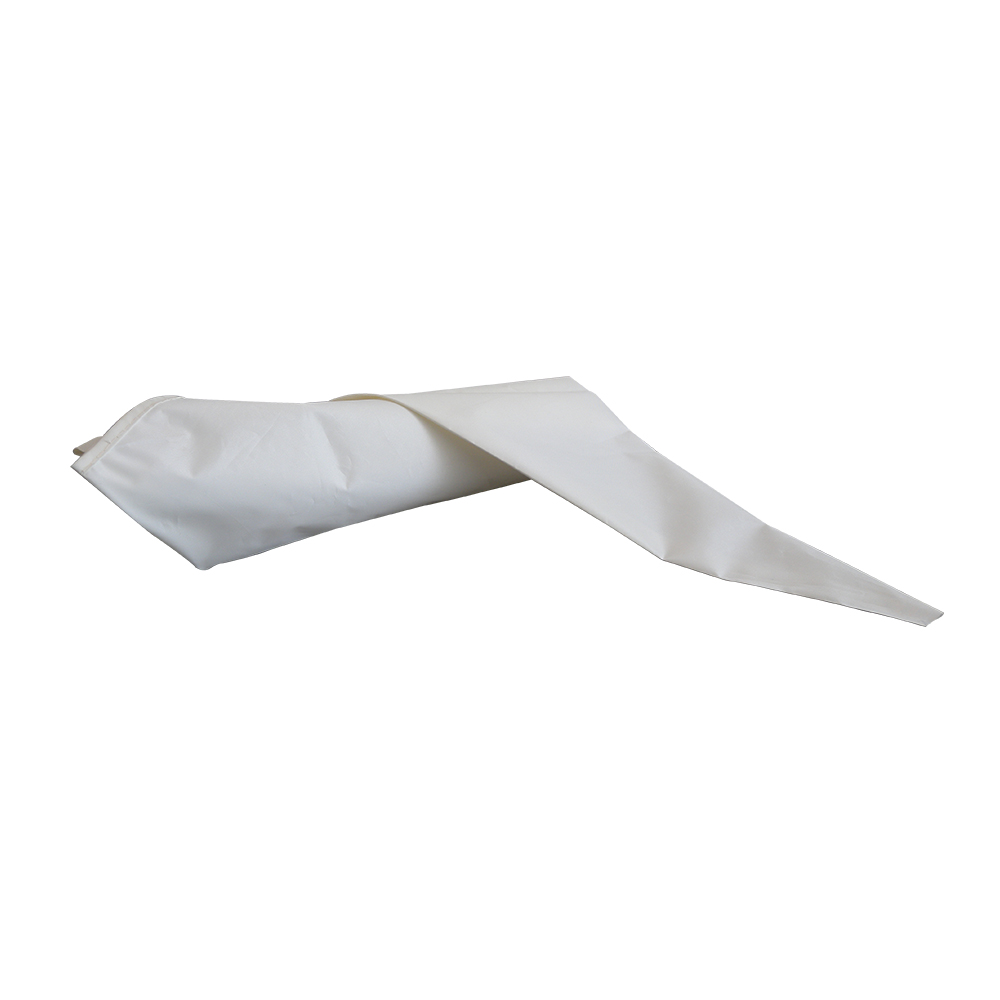
4. After complete hardening of the adhesive, fill the joints with ARREDOSTUCCO using the suitable plastic triangular bag, paying special attention to avoid soiling the stones; if necessary, when the mortar is not yet cured, clean immediately with a brush and clean water.
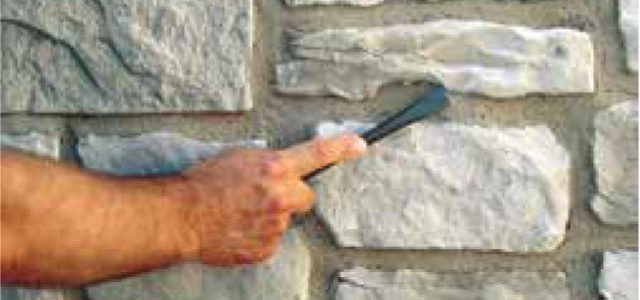
5. When the mortar loses its plasticity and does not appear superficially wet, fill in the joint with the suitable tool and model it, as desired. Remove the excess product and clean the joints with a brush made of plant fibres.
DRYING PROCESS AND COLOUR SETTING
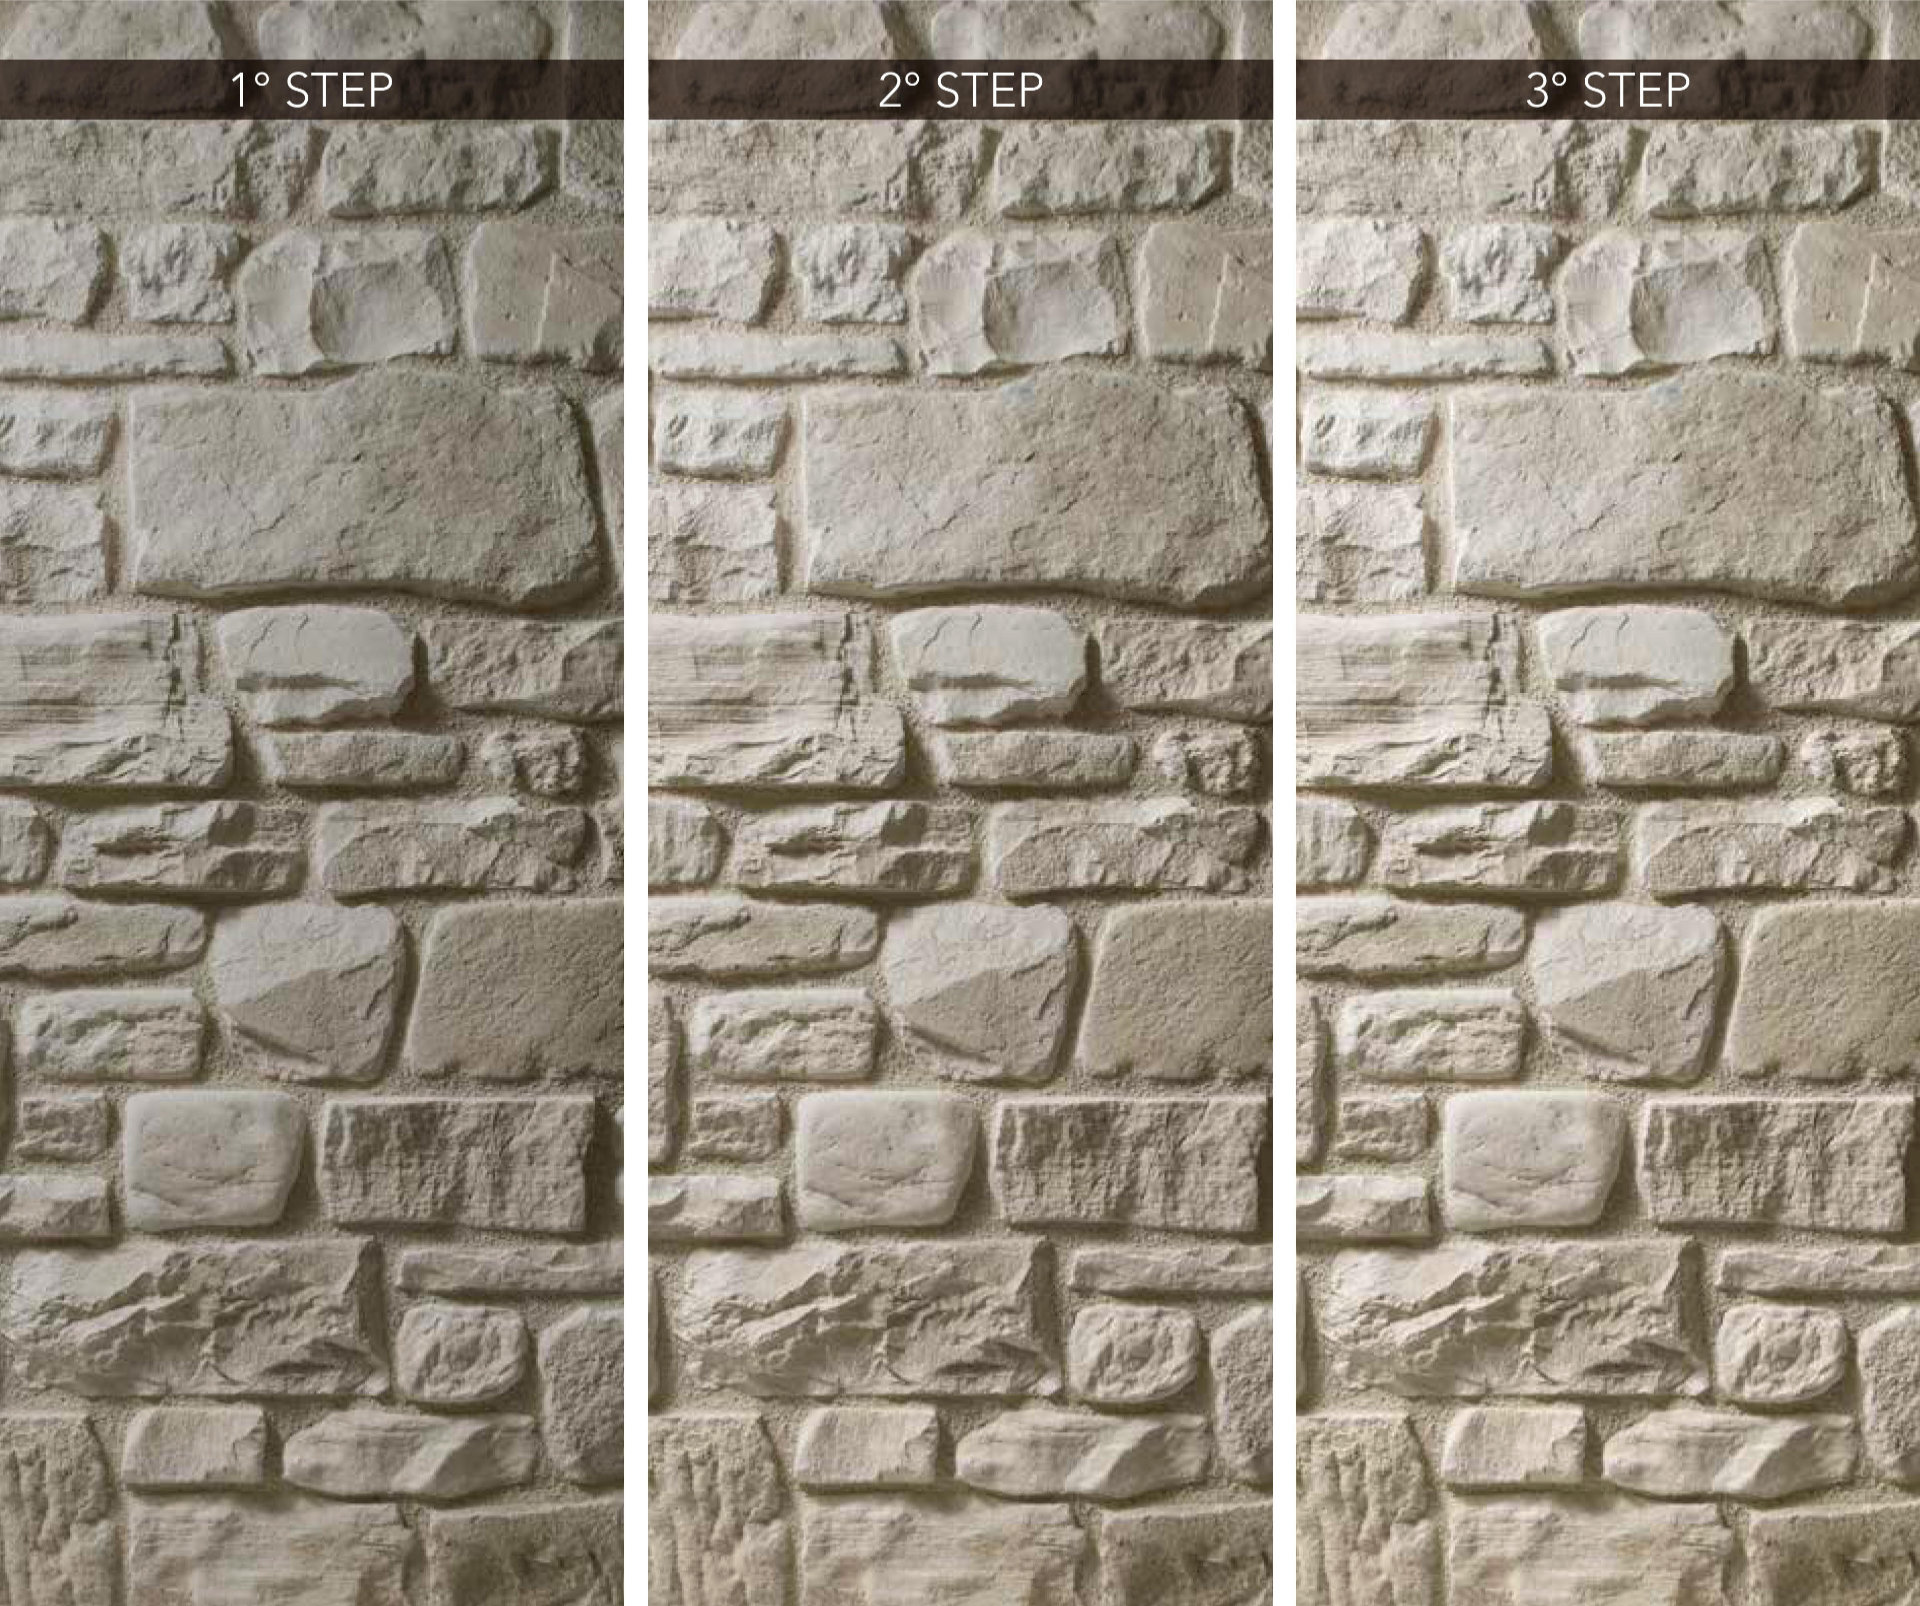
A Natural Process
During the two-three months after installation, a colour setting of veneer stones is possible, due to the drying process of the product.
The material is provided in cardboard boxes and, when packed, it is still wet and not perfectly dry, that is why it may initially be in a slightly darker shade compared to the one chosen. The drying process continues naturally before and after the product installation, gradually balancing the shade and favouring a proper seasoning thanks to the air and the light exposure.
For the same reason, each production lot preserves its own unique characteristics and the atmospheric agents, to which it is exposed, naturally affect the shade of the product already laid. We therefore advice to order all quantities necessaries to complete the realization in a single supply, as an additional order completion may bring out some chromatic differences between the veneer elements already laid and the new ones.
How to order the right quantity
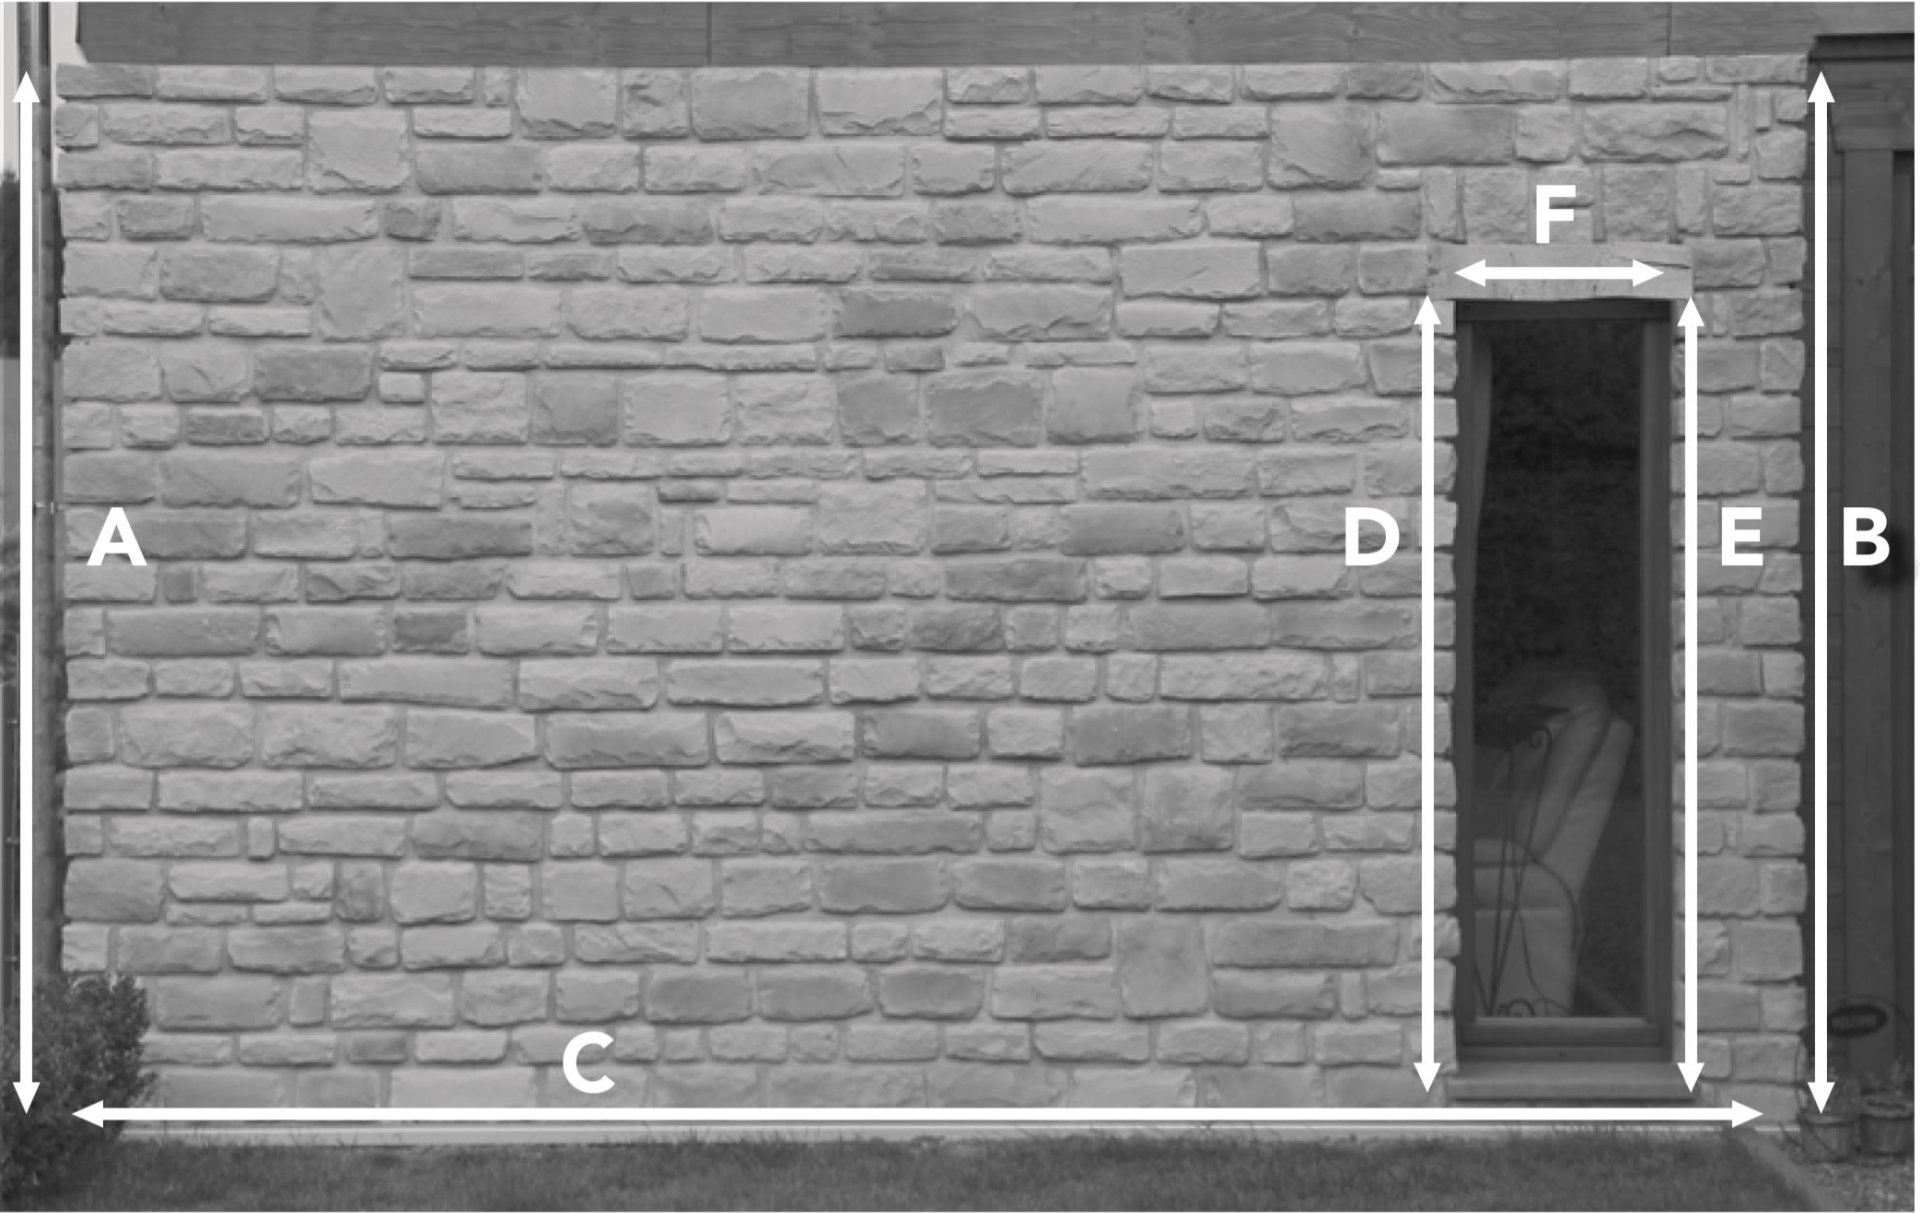
CORNER ELEMENTS
A + B + D + E = mtot.
FLAT ELEMENTS
(A x C) – (m tot. x 0,25) – (D x F) = m2tot.
Round up the quantities to full boxes, as declared in the Price list.
Calculation
All models are supplied in flat and corner elements. The models are divided into: GROUTED, when laid with joint; DRY-STACKED, when laid without joint. GROUTED models are packed considering the thickness of the joint between elements. Some of the GROUTED models can also be dry laid, depending on personal taste: in this case, the quantity of stone ordered should be increased by 15%.
Depending on the model, always consider a small amount of extra material to compensate for any scraps or to be used for cuts.
Corner elements calculation
Corner elements are laid along edges, on window or door openings, therefore calculated in linear metres (m). To determine how many lm to order, measure
the length of all the edges to be covered.
Flat elements calculation
Flat elements are laid on vertical walls and therefore calculated in square metres (m2). To determine how many m2 to order, calculate the area of all the surfaces to be covered. From the sum obtained, subtract the area for all openings (doors and windows, if any) and the area that will be occupied by the corner elements (to determine this value, multiply the previously measured of linear metres by 0.25).
Required ARREDOCOLLA
Consider an average consumption of about 6-7 kg/m2.
Required ARREDOSTUCCO
For models requiring joint spacing laying, consider an average consumption of 8-12 kg/m2 (specific values are shown in the sections for each model in this catalogue).


